
Image to Video AI: Turn Source Images Into Reviewable Takes
Learn how image-to-video AI works, how to prepare source images, plan motion, guide references, and review generated AI video takes.
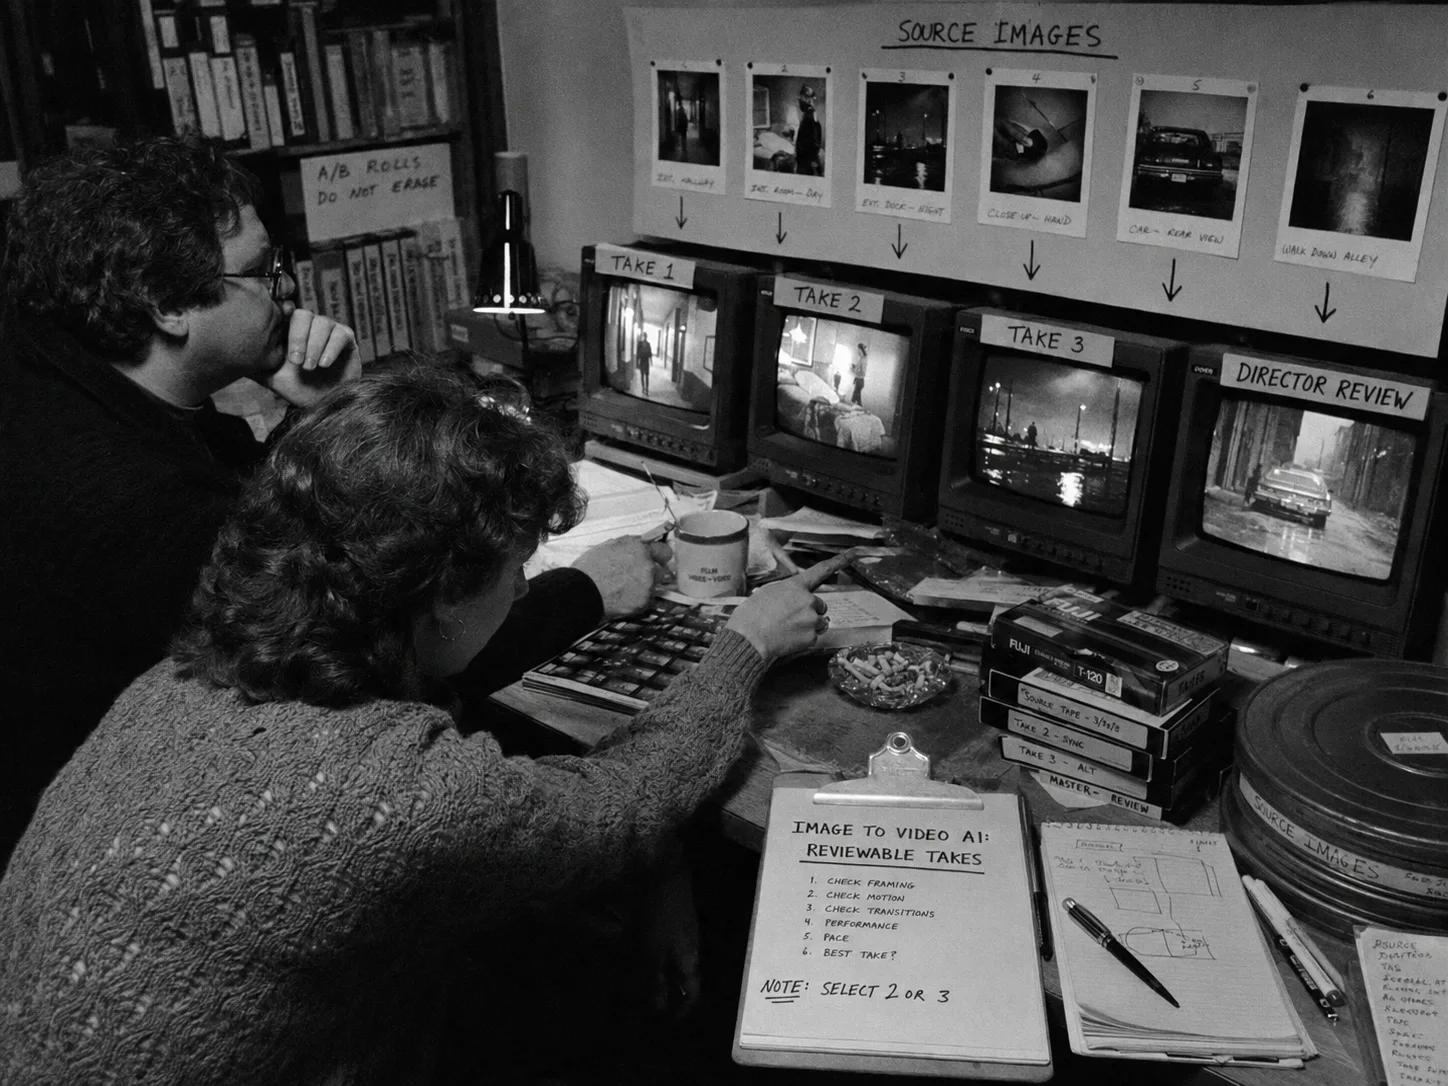
Image-to-video AI turns a still image into a moving clip by using that image as a visual reference. The best results come from a shot plan: a clear source image, a motion direction, reference priorities, format choices, and review criteria for the generated take.
The weak version of this workflow is simple upload-and-hope. The stronger version treats the image like production material. A portrait can guide character identity. A location still can define architecture and light. A prop photo can protect scale and markings. A storyboard frame can anchor the first or last composition.
That shift matters once you need more than one interesting clip. For recurring people, start with character consistency in AI video. For reusable character visuals, use the character reference sheet tutorial. For shot structure, pair this guide with the Seedance 2.0 shot planning workflow.
Key takeaways
Image-to-video AI works best when the still image has a defined production job. Treat source images as references for identity, composition, wardrobe, location, prop detail, or style, then write motion, camera, duration, constraints, and review standards before generating the take.
- Source images need jobs: Assign each image to identity, location, prop, wardrobe, composition, or style.
- Motion needs direction: Write what changes during the shot, not only what the frame looks like.
- Frame anchors need restraint: Use first and last frames when composition matters to the edit.
- Continuity needs memory: Keep references, prompts, settings, takes, and review decisions connected.
- Review needs criteria: Judge generated clips against the shot plan, not only visual appeal.
- Lotix adds production structure: Organize assets, shots, references, Seedance takes, and dailies in one workspace.
What image-to-video AI actually does
Image-to-video AI uses one or more still images to guide a generated video clip. The image can define a subject, character, location, product, prop, style, or frame anchor while the prompt and settings describe the action, camera movement, duration, and constraints.
The image gives the model visual evidence. The prompt tells it what to do with that evidence. If the image shows a character standing still, the prompt may ask for a slow turn, a guarded expression, a push-in, or a reaction to something outside the frame.
Image-to-video differs from nearby workflows:
| Workflow | Primary input | Best use |
|---|---|---|
| Text-to-video | Written prompt | Exploring a shot idea without a fixed visual target. |
| Image-to-video | Still image plus prompt | Preserving a subject, frame, location, prop, or style while adding motion. |
| Video-to-video | Existing video clip | Restyling, extending, or transforming motion that already exists. |
| Reference-video workflow | Short motion or staging clip | Guiding camera behavior, timing, performance rhythm, or blocking. |
The still image cannot do every job by itself. A clean portrait may help identity, but it will not explain camera movement. A location plate may help architecture, but it will not define the scene’s action. Split the work.
Prepare the source image before generation
Prepare source images by checking clarity, framing, subject priority, aspect ratio, lighting, continuity details, and usage records before upload. A weak image forces the model to invent more. A strong image gives the shot a cleaner visual target and makes review easier.
Use this checklist before you generate:
| Source-image check | What to fix before generation |
|---|---|
| Subject clarity | Remove ambiguous subjects when the shot should follow one person, prop, or place. |
| Composition | Choose framing close to the shot you want, especially for first-frame or last-frame anchors. |
| Lighting | Avoid mixing bright studio references with dark scene notes unless the contrast is intentional. |
| Wardrobe and props | Make sure visible details match the scene state you want carried forward. |
| Image quality | Use a clear file where face, silhouette, object edges, or location features read cleanly. |
| Aspect ratio | Pick images that will not fight the intended frame shape. |
| Usage record | Keep source, owner, approval, and client-use notes with the image before production use. |
Do not overload one image. A single frame can guide face, wardrobe, pose, and lighting, but those signals may compete. If the face matters most, say so. If the image should only anchor composition, say that too.
For character-heavy shots, separate identity from outfit. A face reference and a wardrobe reference can serve different jobs. The character reference sheet workflow shows how to build a reusable visual target before the shot plan depends on it.
Use image references by production job
Use image references by production job so the model knows what to preserve. A character image, location plate, prop still, wardrobe photo, storyboard frame, or style reference should each carry one clear instruction instead of competing silently inside the prompt.
Here is a practical way to assign reference roles:
| Reference type | Production job | Prompt direction |
|---|---|---|
| Character portrait | Preserve identity, hair, age read, face shape, and expression range. | ”Use this for face and hair continuity.” |
| Body or costume image | Preserve silhouette, outfit, fabric, color, damage, and accessories. | ”Match the jacket color and worn sleeve detail.” |
| Location still | Preserve room layout, architecture, surfaces, practical lights, or atmosphere. | ”Keep the narrow corridor and red wall light.” |
| Prop image | Preserve object shape, scale, markings, wear, or handling. | ”Keep the chipped metal signal case visible.” |
| Storyboard frame | Anchor a planned composition or camera angle. | ”Start on this composition, then push closer.” |
| Style reference | Guide texture, palette, lens feel, or finish. | ”Use this only for texture and contrast.” |
Reference priority keeps the shot editable. If the take fails, the team can see which image was supposed to guide the missing detail. Without priority, every failed take turns into guesswork.
Plan motion before you generate
Plan motion by writing the shot’s action, camera movement, timing, and ending before generation. A still image can define the starting evidence, but video needs change: a glance, reach, reveal, push-in, pan, tilt, hold, or transition into the next shot.
Start with the shot’s job. Then define what moves.
- Name the beat: What should the audience learn or feel?
- Pick the subject: Who or what should the camera follow?
- Choose the motion: Character movement, object action, camera movement, environmental motion, or a mix.
- Limit the action: Keep the movement realistic for the clip length.
- Set the ending: Decide whether the shot needs a usable final frame.
- Write rejection criteria: Name what would make the take fail.
A useful image-to-video prompt does not need theatrical language. It needs clear direction. “Slow push-in on Mara as she hears the signal, her eyes move toward the booth door, keep the navy field jacket and tired expression” gives the model and the reviewer a shared target.
Build a shot plan around the image
Build a shot plan around the source image by pairing the visual reference with production fields. Capture subject, action, framing, camera, lighting, environment, reference roles, duration, format, negative constraints, and review criteria before spending time comparing takes with the team later.
Use this compact template:
| Field | What to write |
|---|---|
| Shot job | The story or communication purpose of the clip. |
| Primary image | The image that matters most and what it should control. |
| Supporting images | Any character, prop, wardrobe, location, or style references. |
| Subject and action | The subject and the change that happens during the shot. |
| Camera | Framing, movement, lens feel, angle, and pace. |
| Lighting and environment | What should stay visible from the scene world. |
| Duration and format | Clip length, aspect ratio, and resolution target. |
| Negative constraints | Details that should not appear, change, or distract. |
| Review standard | What makes the take rejected, maybe, selected, or approved. |
Example shot briefs:
| Use case | Source image | Shot brief |
|---|---|---|
| Character close-up | Three-quarter portrait of Mara in station wardrobe. | ”Slow push-in as Mara hears an offscreen signal. Preserve face shape, tied-back hair, navy field jacket, and tired expression. Reject if the jacket changes color or the face reads as another person.” |
| Prop insert | Clean photo of a chipped metal signal case. | ”Locked close insert as a hand slides the case across a wet table. Keep the chipped corner and stamped marking readable. Reject if the case becomes plastic or the mark disappears.” |
| Location move | Still frame of a narrow service corridor. | ”Low, slow tracking move down the corridor toward a red wall light. Preserve the tight walls and practical light. Reject if the corridor widens or adds extra doors.” |
For more shot-field detail, use the Seedance 2.0 shot planning workflow before generating a full scene.
Use Lotix for reference-driven AI video
Lotix gives image-to-video work a production home: projects, assets, scenes, shots, references, generated takes, and dailies. That structure helps teams keep source images, motion intent, Seedance settings, review states, and approved decisions attached to the work through each generation pass.
Lotix is not just an upload box. It lets teams build a production asset library for characters, locations, props, wardrobe, and reference videos, then use those assets inside structured shot plans. Current video generation support centers on Seedance 2.0 and Seedance 2.0 Fast.
For image references, Lotix supports up to 9 image references per generation path. Supported formats include JPEG, PNG, WebP, BMP, TIFF, and GIF, with a 30 MB maximum per image. Reference roles include first frame, last frame, and reference image.
That matters when a shot has more than one visual dependency. A character portrait can guide identity, a wardrobe image can guide costume, and a frame anchor can guide composition. The shot plan keeps those jobs visible.
Lotix can also use reference videos for motion, camera, timing, and staging guidance. Keep that separate from still-image references: images help define what something should look like, while reference clips can help describe how movement should behave.
Review generated takes like production work
Review generated takes by comparing each clip against the source image, shot plan, reference priorities, motion direction, and scene context. A take can look polished and still fail if the subject drifts, the prop changes, or the ending frame cannot cut.
Use a review table instead of vague reactions:
| Review question | What it catches |
|---|---|
| Did the image reference hold? | Identity, object shape, location, wardrobe, or composition drift. |
| Did the motion serve the shot? | Overbusy action, weak timing, or camera movement that fights the beat. |
| Did the take add unwanted details? | New objects, changed markings, extra people, wrong lighting, or style mismatch. |
| Does the ending help the edit? | Bad final frame, broken direction, or unusable handoff to the next shot. |
| What status does it earn? | Reject, maybe, selected, or approved. |
Lotix stores generated videos as takes attached to shots, with review states such as rejected, maybe, selected, and approved. Successful takes can move into dailies, where directors, producers, editors, and collaborators review progress in context.
For the full review pass, use the AI video takes and dailies tutorial.
Compare image-to-video tool categories
Compare image-to-video tools by control, reference handling, shot planning, review history, team handoff, and governance needs. One-off generators can help with exploration, while production work needs stronger organization around source images, prompts, takes, decisions, and reuse across scenes and collaborators.
Use tool categories instead of chasing feature lists:
| Tool category | Good fit | Watch for |
|---|---|---|
| Quick image-to-video uploaders | Fast tests, concept clips, simple motion from a single image. | Limited shot organization and weak handoff history. |
| Creative suites | Teams already using a broader design or content toolset. | References may sit outside a film production structure. |
| Avatar or marketing-video tools | Presenter clips, product explainers, or templated business videos. | Less control for scene coverage, cinematic blocking, and dailies. |
| AI film production workspace | Scenes, shots, reusable assets, generated takes, review states, and collaborators. | Requires the team to plan before generating. |
Pick the lightest tool that matches the job. A one-off social clip may only need a fast uploader. A recurring character, client review, or multi-shot scene needs production memory: assets, shot plans, take history, and dailies.
For a wider production stack comparison, read AI filmmaking tools. For the broader process, use AI in video production.
Frequently asked questions
Image-to-video AI questions usually come down to inputs, control, consistency, cost category, and review workflow. The practical answer rarely lives in one prompt; it lives in how the team prepares images, writes motion, compares takes, and preserves context for later production decisions.
What is image-to-video AI?
Image-to-video AI is a generation workflow that turns a still image into a moving video clip. The image guides the visual target, while the prompt and settings describe action, camera movement, duration, style constraints, and the review standard for the output.
Use it when a source image already carries something worth preserving: a person, location, object, frame, or visual style. If the image does not matter, text-to-video may give you faster exploration.
How do you turn an image into an AI video?
Turn an image into an AI video by choosing a clear source image, assigning its reference job, writing motion and camera direction, setting format choices, generating a take, then reviewing the clip against the image and shot plan before selecting a next action.
The workflow is short, but each step needs intention. Upload the image, explain what it should control, write one clear action, keep the duration realistic, and reject outputs that drift from the source.
What images work best for AI image-to-video generation?
The best images for AI image-to-video generation show a clear subject, readable details, stable lighting, useful framing, and a close relationship to the desired shot. Images with conflicting costumes, crowded subjects, or unclear ownership create more review problems for the team.
For character shots, use clean identity and wardrobe references. For places, use images that show structure and light. For props, use photos where shape, scale, and markings read clearly.
Can image-to-video AI keep a character consistent?
Image-to-video AI can help character consistency when the team uses stable identity references, wardrobe notes, shot-level priorities, and structured review. It still needs continuity review for each generation pass, so recurring characters need character assets, reference sheets, take comparison, and dailies across the scene.
Treat the image as one part of the continuity system. The character consistency workflow explains how to connect identity, wardrobe, style, and review across several shots.
Can image-to-video AI be used commercially?
Commercial use depends on the source image rights, the tool’s usage terms, and the production’s client or distribution needs. Treat this as a production record: keep source, owner, approval, and intended-use notes with each image before generating or sharing the take.
Avoid separating those notes from the generated take. When teams lose the source record, later review becomes slower because nobody can tell which image guided the clip or whether the team approved it for that use.
Are free image-to-video AI tools enough?
Free or lightweight image-to-video tools can be enough for quick experiments, mood tests, or single clips. They become limiting when teams need reusable references, shot plans, review states, collaborator roles, dailies, token visibility, or governance history across a team over multiple rounds.
That does not make every quick tool wrong. It means the workflow should match the stakes. Exploration can be loose. Production work needs context that survives past the first export.
Does Lotix support image-to-video generation?
Lotix supports reference-driven AI video generation through its current Seedance-focused path. Teams can attach image references to structured shot plans, generate Seedance 2.0 or Seedance 2.0 Fast takes, then review those takes inside project, scene, and shot context.
Lotix also keeps production assets nearby, including characters, locations, props, wardrobe, and reference videos. That helps teams carry visual intent from a still image into shot planning, take review, and dailies.
Start with the image, direct the take
Start with a source image that has a job, then direct the take around it. Define what the image should control, what should move, what should stay unchanged, and how the team will review the result before generating each shot.
Set up the character, location, prop, wardrobe, or storyboard frame as production material. Build the shot plan. Generate the take. Review it against the source image and the scene’s needs.
When you are ready to keep source images, shot intent, generated takes, and dailies together in one production workspace, Sign up free in Lotix.
Free workspace
Create your free Lotix workspace.
Plan your shots, manage your assets, generate takes with built-in Seedance, and keep generation spend visible with monthly tokens inside Lotix.
- Plan shots around scenes, references, and review needs
- Manage characters, locations, props, and production assets
- Generate Seedance takes with visible token usage